
How Legacy iOS Backup Options Reached This Point
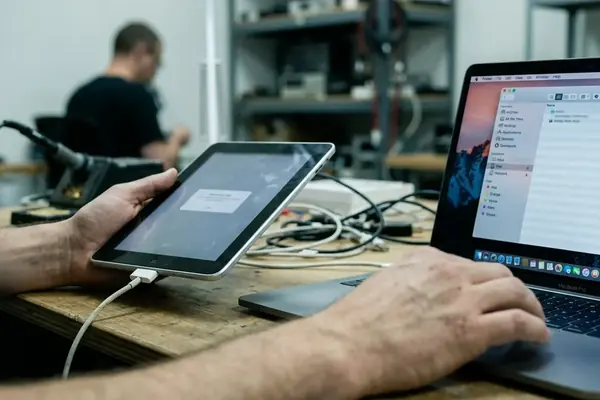
Older iPhones and iPads often arrive at a cleanup session with a desktop computer as their only workable recovery path. That reflects how the platform developed. Computer-dependent backups dominated the early iPhone and iPad years, with iTunes handling the device connection, backup catalog, and restore process.
iCloud Backup arrived with iOS 5 in 2011. From that point forward, mixed device fleets could contain two very different backup workflows: a cable-based copy managed by a computer and a cloud copy managed through the device. Legacy hardware may expose either route, both routes, or only a partially functional version of one.
iTunes and Finder Belong to Different Host Eras
Windows computers and Macs running releases before macOS Catalina generally use iTunes. Finder device management appears on macOS 10.15 and later. A Finder device pane will therefore be absent on a pre-Catalina Mac or any Windows host, even when the connected phone itself is comparatively recent.
Many 30-pin dock devices and early Lightning models still pair with iTunes 10.x through 12.x on Windows 7 or Windows 10, or with older macOS releases. Labels and button positions can shift between those builds. Instructions should follow the function shown on screen rather than assume the current Apple interface.
Aging hosts introduce practical risk. A computer with free local disk hovering around 10 GB or less may run out of space during the copy. Worn cables can maintain charging while losing USB data, and intermittent device enumeration can make the iPhone or iPad disappear halfway through a session. Those conditions make verification essential before deleting caches, temporary files, or user data.
Choose the Backup Route Your Device Can Actually Use
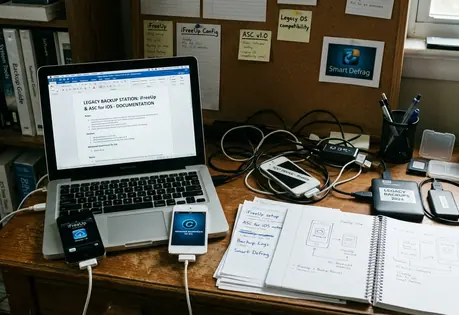
Start with hard constraints. Check for a usable cable, a compatible computer, working Apple Account credentials, sufficient destination space, and a connection that can remain stable for the full transfer.
Desktop or iCloud?
- Choose a desktop backup when Wi-Fi cannot sustain a multi-gigabyte transfer, when a local recovery point is preferred, or when the iCloud account lacks enough capacity for the device payload.
- Choose iCloud when the device can remain on dependable Wi-Fi and wall power, the Apple Account can authenticate, and the account has enough available backup capacity.
- Use both safeguards where practical for irreplaceable material: retain one verified primary backup and separately copy critical photos or documents outside the backup bundle.
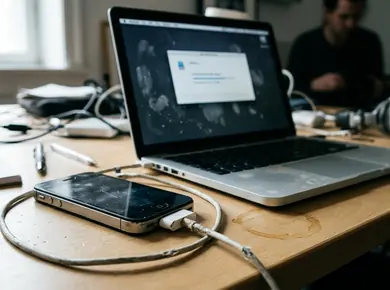
A local backup resides on the host computer and requires a working USB or 30-pin data connection. It can be encrypted through iTunes or the Mac device pane. An iCloud backup depends on Wi-Fi, Apple Account access, available cloud capacity, and the continued availability of those credentials during restoration.
Photo imports, file transfers, and synchronization still have value. They protect selected content and may make individual files easier to retrieve. They do not create the device-level recovery point used by the iOS restore workflow.
Route Check
If the Trust prompt never appears and the device icon vanishes within a period in the ballpark of one to three minutes, test a known-good data cable and another stable USB port. Some damaged or charge-only cables supply power while their data pins provide no reliable connection.
Stabilize the Device Before You Copy Anything
Freeze the software state before backup preparation. Do not launch the cleanup utility, update iOS, reset settings, remove apps, or reorganize large amounts of content. Each action can change the material the backup is supposed to preserve.
Pre-Cleanup Backup Readiness
- Unlock the device with its passcode and confirm that the Apple Account credentials work.
- Bring the battery to a level hovering around 50 percent or higher, then connect the device to continuous wall power.
- Use a known-good USB or 30-pin cable with working data lines.
- Confirm free space on the computer or sufficient iCloud capacity for the intended route.
- Record the device model, iOS build, computer operating system, and iTunes version in one note.
- Place the device on a flat surface where the cable and port will remain undisturbed.
Inspect the connector before starting. If the plug feels loose, reseat it once and leave it alone. Repeatedly wiggling an aging port can turn an intermittent connection into a failed one.
Hardware Stop Signs
Stop the attempt if the chassis shows battery swelling, extreme heat, intermittent shutdowns, or cracked board-level damage. Aggressive port movement and repeated forced restarts can worsen a failing device before any backup completes.
A stable device should remain electrically quiet during the copy: no spontaneous restarts, no rapid heating, and no repeated connection alerts. Close nonessential programs on an older computer, disable avoidable sleep interruptions, and connect a laptop to wall power.
Create a Local Backup with iTunes or the Mac Device Pane
The connection sequence matters because the computer cannot expose backup controls until it has paired with the unlocked device.
Run the Local Backup
- Open iTunes, or open the relevant device pane in Finder on macOS 10.15 or later.
- Connect the unlocked iPhone, iPad, or iPod touch with the known-good cable.
- Respond to the Trust prompt if it appears, then enter the device passcode when requested.
- Select the device icon or the device name in the sidebar.
- In iTunes, open Summary. In Finder, locate the backup controls in the device pane.
- Select the option that stores the backup on the computer. Older iTunes 11.x and 12.x releases may phrase this as This computer.
- Choose Back Up Now and leave the cable seated until the progress display finishes.
Decide Whether to Encrypt
An encrypted local backup can retain protected information such as saved passwords and Health data. The encryption password becomes essential during restoration. Losing it can make that backup unusable for its intended recovery path.
Password Before Progress
Create the encryption password in a password manager and confirm that it has been saved before starting the encrypted backup. Do not rely on memory or a temporary note beside the computer.
A vanishing device icon, a full host disk, a damaged cable, an unanswered Trust prompt, or an iTunes release too old for the attached iOS build can stop the job. Address the displayed condition, reconnect once, and start a fresh backup attempt. Leave the device and host powered throughout the run.
Make an iCloud Backup When a Computer Is Impractical
What if no compatible computer or data cable is available? iCloud can provide the recovery point, provided the device still reaches the account service and can remain on reliable Wi-Fi.
Find the Legacy Backup Controls
Open Settings and navigate to the iCloud backup controls. On older iOS releases, the option may appear under Storage & Backup rather than the modern iCloud menu path. The screen wording may differ from Apple's overview of iPhone and iPad backup methods, which reflects current terminology.
- Connect the device to dependable Wi-Fi.
- Attach it to continuous wall power.
- Confirm that iCloud Backup is enabled for the account.
- Tap Back Up Now.
- Keep the device on power and within Wi-Fi range until the process ends.
- Reopen the backup screen and inspect the latest successful backup date and time.
A greyed-out Back Up Now control on some older builds can mean that Wi-Fi is not associated or the account backup toggle remains disabled under Storage & Backup. Other common blockers include full iCloud storage, an account re-authentication request, or a connection that drops during upload.
Tapping the button records intent. The changed completion timestamp supplies evidence that the service accepted and cataloged the new backup.
Verify the Recovery Point, Not Just the Progress Bar
A finished animation can disappear even when the expected backup record never updates. Verification therefore uses the durable entry stored by iTunes, Finder, or iCloud.
Verify a Desktop Backup
- Open iTunes preferences and select Devices, or use the matching backup-management interface on the Mac.
- Find the entry associated with the connected device.
- Confirm that its latest backup time corresponds to the session just completed.
- Check that the device identity is plausible when several iPhones or iPads share the computer.
Verify an iCloud Backup
- Return to the device’s iCloud backup screen.
- Read the displayed latest successful backup date and time.
- Confirm that the timestamp advanced after the manual run.
The entry and its plausible completion time form the pre-cleanup gate. Full item recovery can only be established by a successful restore, so the timestamp should be treated as evidence of a completed backup record rather than a file-by-file restoration test.
Leave a desktop backup directory under the control of its management software. Renaming, moving, merging, or hand-editing files inside the bundle can break the catalog structure used during restoration.
Keep the Backup Untouched While Cleanup Runs
Once the record has been verified, eject or disconnect the device cleanly from iTunes or the Mac device pane. Keep it connected only when the cleanup application’s documented workflow explicitly requires a live USB link.
Use a Staged Cleanup Pass
- Preserve the verified backup in its current location.
- Open the cleanup tool and begin with temporary files and cache categories.
- Review every proposed deletion list before approving it.
- Exclude photos, messages, app documents, and previously transferred user files.
- Run the narrow first pass and observe the device before expanding the scope.
Broad category names deserve close inspection. A label that sounds disposable may include downloaded documents, message attachments, offline media, or app-managed files that the owner expects to keep.
Halt the cleanup if the device disconnects repeatedly, becomes unusually hot, restarts without a prompt, or reports storage errors. After the first pass, open core apps, Photos, Messages, and the iOS storage summary. This check catches obvious omissions while the verified recovery point remains untouched.
Backup Hold Period
Do not delete or replace the backup immediately after cleanup. Keep it through the first inspection of the device and its important content.
The Moment It Is Safe to Proceed
The cleanup tool can open after every item in this readiness gate has a clear answer:
- The backup process finished.
- The desktop entry or iCloud timestamp was checked.
- The encrypted-backup password was retained, if encryption was used.
- Critical photos or documents were copied separately when their value warranted it.
- The device remains thermally and electrically stable.
At a kitchen table, Maya leaves an older iPad connected to power while iTunes finishes on a Windows laptop. She checks the new backup time, saves the encrypted-backup password in her password manager, ejects the iPad cleanly, and removes the cable. Only then does she open iFreeUp and review the first cache-removal list.