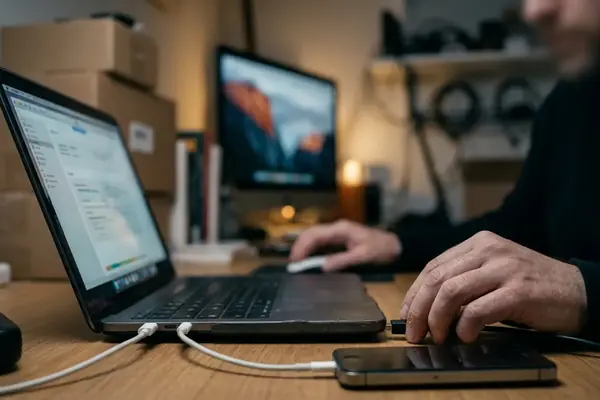

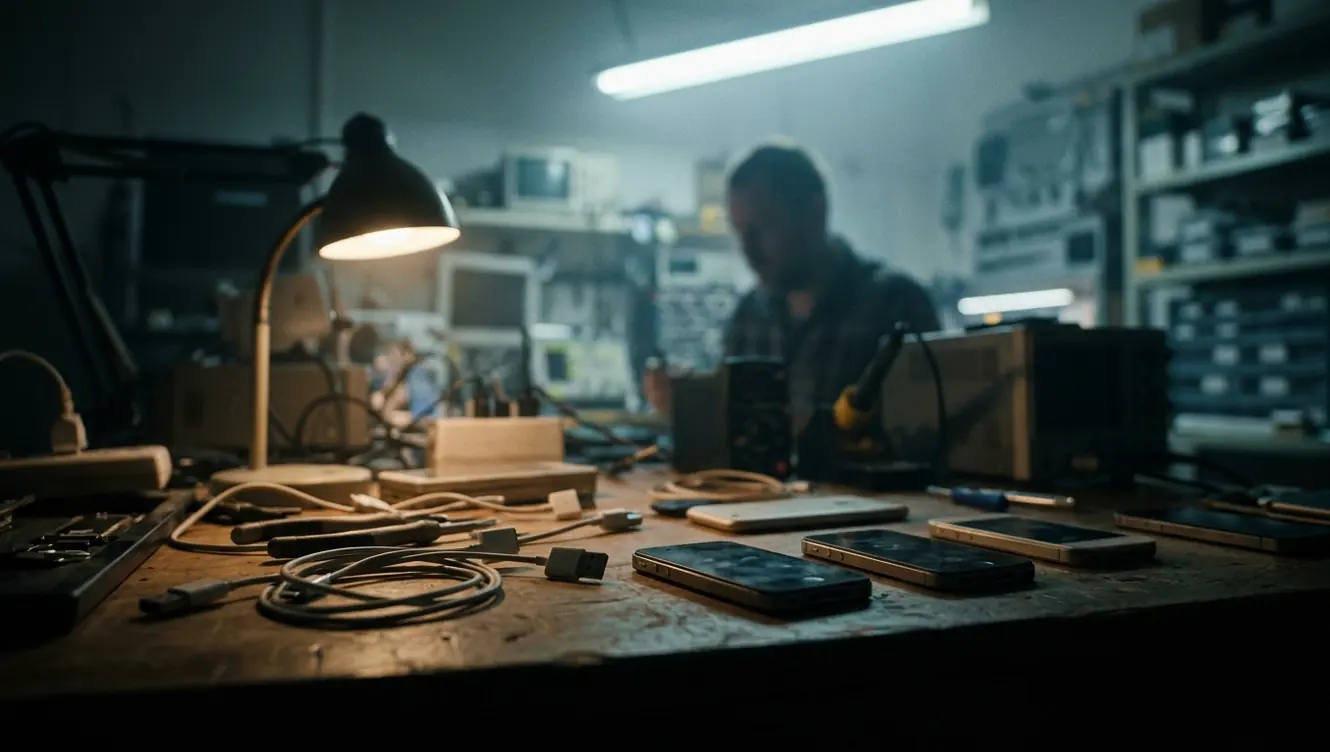
During the iOS 5–7 era, desktop cleanup utilities depended on wired USB pairing. A handset that boots, charges, and shows a full Camera Roll does not establish whether one of those utilities can scan the device, enumerate its junk files, and delete anything safely. The nine checks below separate device operation from cleanup compatibility.
The iOS 5–7 Cleanup Chain Ages in Pieces
Wired desktop cleanup sessions of this class were built around USB pairing from late 2011 through mid-2014, running concurrent with iOS 5.0 through 7.1.2. Tools such as iFreeUp and Advanced SystemCare for iOS assumed a stack with four independent parts: the host operating system, the Apple device drivers, a version-specific pairing record, and a utility build whose release notes actually named the iOS generation in front of it.
Those parts age separately. A handset can sit happily on iOS 6.1.x or 7.1.x and remain unscannable because the host moved to OS X 10.10 or later, or because Apple Mobile Device Support no longer matches the utility installer produced inside that 2011–2014 window. Nothing about the device changed. The chain around it did.
This is where most legacy cleanup attempts go wrong. Detection gets read as permission. The device appears in iTunes, the utility window populates with a name and a storage bar, and the operator concludes that scanning and deletion are supported. Detection only demonstrates that USB transport and the driver layer are talking.
Detection Is Not Clearance
The cleanup chain on an iOS 5–7 handset breaks when iTunes or Apple Mobile Device Support shows the device but the 2011–2014 utility build never named that firmware in its README. A visible device is a transport result, not a scan warrant.
Fixing Three Identities: Handset, Installer, Desktop
What does a cleanup operator actually need to know before touching a scan button? Three identities, each recorded rather than remembered.
Check 1 — Record the hardware and firmware exactly
Open Settings > General > About and capture the marketing name, the iOS version, and the build string. A family nickname is too coarse: it does not distinguish firmware that still relies on an older host pairing record from firmware that presents the Trust dialog. If the version or build field is blank or uncertain, postpone the scan and resolve the identity first.
Check 2 — Confirm what that specific utility build supports
Support is established from the installer README or archived release notes of the build being used, for the same iOS generation. The newest available installer is not evidence of legacy support; later builds frequently dropped device generations without announcement. Where support is undocumented, the sensible substitution is a non-destructive route — a backup or a plain file transfer — instead of a junk scan.
Check 3 — Verify the desktop against stated requirements
Host requirements from this era typically listed OS X 10.6–10.9 or Windows 7/8 plus matching Apple device drivers. Compare that against the actual host version, processor architecture, administrator permissions, and installer dependencies. A desktop that sits outside the range calls for a different, compatible offline machine. Compatibility-mode workarounds tend to install the interface while leaving the driver relationship broken underneath.
Making the Wired Session Hold Still
Transport is verified before the cleanup utility ever opens, so that a USB problem never gets recorded as a junk-scan failure.
Check 4 — Prove driver recognition first
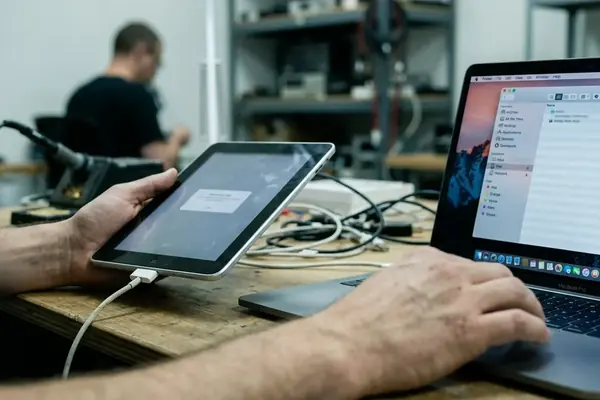
Launch the matching iTunes or Apple Mobile Device components and confirm the device is recognized there. Recognition is treated strictly as USB transport. If detection fails, reinstall the driver package belonging to that host and utility generation rather than reaching for a newer stack that was never part of the tested pairing.
Check 5 — Inspect cable, port, and power
Use a 30-pin cable for Dock Connector devices — iPhone 4 and 4s, iPad 2 and 3, iPod touch 4th generation — and Lightning for iPhone 5, iPad 4, and iPod touch 5th generation. Connect to a direct port and keep the session there for the full enumeration window; content listing commonly runs on the order of 5–25 minutes on 16–32 GB devices with large Camera Rolls. Fluctuating connection sounds, intermittent charging, or a device that appears and vanishes means the cable or port is replaced before anything else happens.
Check 6 — Complete the version-appropriate pairing
Unlock the device, enter the passcode on the handset itself, and settle the pairing state. iOS 7 typically raises a Trust This Computer prompt; earlier firmware may depend on an existing host pairing record instead. A pairing that loops, or a trust record that disappears between sessions, is a connection-layer repair job. Cleanup waits.
Recovery, Room to Write, and Devices That Are Not Stock

The last three checks are the ones operators skip when the first six went smoothly, and they are the ones that decide whether a bad scan is recoverable.
Check 7 — Make a backup and watch it finish
Run a local backup using software that still supports the device, and watch it through to a completion message with no error dialog. If the encrypted-backup option was selected during the 2011–2014 iTunes backup flow, store that password somewhere retrievable. A filename in the backup list, with unknown completion status and unknown credentials, counts as no backup at all. Failed verification stops the session.
Check 8 — Measure working space on both sides
The computer needs room for a backup at least as large as the used capacity on these 16 GB or 32 GB class devices, plus logs, temporary files, and any exported media. On the device side, confirm it remains responsive despite low free storage. Where the handset can barely write, irreplaceable files are exported first and broad cleanup operations are skipped entirely.
Check 9 — Record nonstandard device states
Note jailbreak modifications, beta or custom firmware, configuration profiles, supervision, and any restrictions that alter file access. Matrix rows for jailbreak, supervision, and configuration profiles stay fail-closed when the utility documentation is silent, even if Checks 1–6 already passed cleanly on cable and pairing. Silence is read as unsupported.
One Green Light Is Not Nine
Recognition by a single component cannot compensate for a failed support or recovery row. A stable driver detect does not substitute for a documented README line, and a verified backup does not substitute for a working pairing record.
Reading the Nine Rows Into Go or Stop
Go is the conjunction of all nine: exact device and firmware identified from the About screen, utility and host support documented, driver recognition stable, cable and pairing reliable, backup completion witnessed, working space available on both sides, and nonstandard device states recorded. Every row needs written evidence, not an impression.
Stop actions route by layer rather than ending the sitting. An unknown utility build sends the operator to documentation, or the scan is abandoned. A host mismatch moves the work to another computer. Detection failures go to drivers or cabling. An unsupported or altered device state falls back to backup and manual file copy. This gate applies to USB-tethered iOS 5–7 cleanup utilities whose own release notes still list the device generation; outside that scope, the matrix is not the right instrument.
Start With the About Screen
Before the cable comes out, open Settings > General > About on the target device and write down the marketing name, iOS version, and build string. That one line determines which README you need to read and which driver generation belongs on the host.
Build the nine rows as a short checklist file on the host machine, one line each, and fill in Check 1 now from the device in hand. Everything after it — the README lookup, the driver install, the backup — depends on knowing exactly which firmware build is sitting on the other end of that cable.